
How to Fix Terrarium Plant Problems: Diagnosis and Care Guide
Terrarium plants usually fail because of waterlogged substrates, poor ventilation, dim lighting, or pest outbreaks. Pinpointing these symptoms early lets you adjust humidity, trim rotting roots, and stabilize your enclosed environment before loss occurs.

By Sharon Ben-Moshe, Founder, The Aquarium Adviser
Updated / 7 min read
In this guide
Knowing how to fix terrarium plant problems comes down to diagnosing moisture imbalance, low airflow, light starvation, or fungal rot before tissue decay spreads. Most plant decline inside sealed glass occurs from saturated substrate suffocating roots, which you can resolve by venting the lid, adjusting light levels, and pruning affected growth.
| Symptom on Plant or Glass | Primary Cause | Immediate Action | Prevention Strategy |
|---|---|---|---|
| Constant heavy glass fogging | Excess standing water | Uncap lid for 12-24 hours | Water with a pipet or mist sparingly |
| Black, mushy stems or roots | Anaerobic root rot | Prune rotted tissue, repot in fresh mix | Build a 1-inch false bottom drainage layer |
| White fuzzy mold on soil surface | Stagnant air and organic decay | Vent lid, spot-treat with diluted hydrogen peroxide | Introduce springtails and ventilate weekly |
| Stretched, pale, spindly stems | Light starvation (etiolation) | Relocate closer to indirect light or LED | Provide 100-200 foot-candles of diffuse light |
| Crispy, curled leaf margins | Direct sun scorching or zero humidity | Move away from south windows and heat vents | Keep ambient room temperature at 65-75°F |
| Fine webbing or cottony spots | Spider mites or mealybugs | Wipe foliage with 70% isopropyl alcohol swab | Inspect and quarantine new cuttings |
Why are terrarium plants dying?
A terrarium operates as an enclosed or semi-enclosed microclimate where the normal buffer of an open room disappears. Because the glass walls prevent natural evaporation and block air movement, small cultural mistakes compound quickly.
In a sealed vessel, moisture cycles continuously through evaporation, condensation, and precipitation. Plants transpire water vapor into the air, which condenses against the cool glass walls and trickles back down into the substrate. In a stable setup, this cycle maintains steady humidity with gentle morning fogging that clears as ambient room temperatures rise.
When you add too much water at planting, that closed cycle turns destructive. Saturated soil collapses the air pockets around root hairs. Deprived of oxygen, roots can no longer take up minerals or support cell walls. Pathogenic fungi multiply rapidly in anaerobic, warm conditions, digesting the weakened roots and causing the plant to collapse from below. In open containers, the failure mode is often the opposite: dry indoor air from central heating or air conditioning siphons moisture away faster than shallow root systems can absorb it.
How to balance moisture and prevent root rot
Distinguishing between moisture stress and dehydration requires examining both the substrate and the plant tissue. Overwatered plants develop soft, yellow lower foliage, dark mushy stems near the soil line, and foul-smelling substrate. Underwatered plants shed dry leaves, show crisp margins, and sit in soil that has pulled away from the container edges.
If root rot has started, acting within the first few days gives you the best chance of saving the specimen. As outlined in the Clemson University Extension plant disease guide, addressing waterlogged fungal rot requires immediate sanitation and aeration:
- Step 1: Lift the affected plant from the terrarium using long planting tweezers or a small spoon, taking care not to disturb neighboring root systems.
- Step 2: Wash away the saturated soil in lukewarm water so you can inspect the root structure clearly.
- Step 3: Use a sterilized razor or small scissors to cut away all blackened, mushy, or hollow roots. Keep only firm, white or light-tan root branches.
- Step 4: Allow the cut tissue to air dry on a paper towel for 20-30 minutes so callouses form over the wounds.
- Step 5: Replant the trimmed plant in fresh, barely damp substrate, and leave the terrarium lid cracked open for 48 hours to promote air exchange.
Anaerobic conditions at the base of a terrarium mirror the bacterial and fungal decays seen in aquaponics root diseases. Without drainage holes, any standing water that rises into the root zone becomes stagnant. You can check water levels by glancing at the bottom glass: if water sits higher than the gravel drainage layer, roll up a paper towel or use a plastic syringe with airline tubing to siphon out the excess pool.
Managing lighting and temperature inside glass
Glass containers act like solar ovens when placed in direct sun. Solar radiation penetrates the clear glass, warms the dark soil and plants, and converts into long-wave heat that cannot easily escape through the walls. Placing a sealed terrarium on a sunny windowsill can push internal temperatures past 100°F within an hour, scalding leaf cells and melting soft tropical plants like nerve plants and mosses.
Position your terrarium where it receives bright, indirect light instead:
- North-facing windows provide gentle, consistent light that never overheats glass, though growth rates will remain slow.
- East-facing windows deliver mild morning sun that provides adequate photosynthetically active radiation without dangerous thermal spikes.
- South and west windows require placing the terrarium 4-6 feet away from the glass pane or filtering the beam through a sheer curtain.
- Artificial LED light fixtures rated around 5,000-6,500K placed 6-10 inches above the lid offer the most dependable lighting. Setting a light timer for 10-12 hours per day prevents seasonal light drops.
When lighting is too dim, plants exhibit etiolation. Stems stretch outward, internodes become long and weak, and new foliage emerges pale yellow or light green. If you spot leggy growth, trim back the elongated stems to a healthy node and move the container to a brighter spot or add an auxiliary LED fixture.
How to eradicate mold and terrarium pests
High humidity combined with low ventilation creates ideal conditions for mold spores and hitchhiking pests. Managing these outbreaks requires quick physical removal and biological balancing.
Treating white mold outbreaks
Fuzzy white mold commonly appears on the soil surface or driftwood within two to three weeks of planting a new terrarium. This saprophytic fungus feeds on uncolonized organic debris in fresh potting mixes. While unsightly, it rarely kills healthy plants on contact unless it blankets foliage.
To clear white mold:
- Vent the terrarium by removing the lid for 2-4 hours every afternoon until surface moisture drops.
- Spot-treat fungal patches with a cotton swab dipped in standard 3% hydrogen peroxide. The solution oxidizes fungal threads on contact and degrades harmlessly into water and oxygen.
- Add a starter colony of temperate springtails (Collembola). These tiny soil-dwelling arthropods consume decaying leaves, mold filaments, and fungal spores. Maintaining a springtail population is especially effective in bioactive enclosures, such as tree frog enclosures, where waste and high moisture must be broken down continuously.
Eliminating common terrarium pests
Houseplant pests often enter on unwashed cuttings or contaminated soil mixes. Because enclosed terrariums lack natural predators, small pest populations expand unchecked.
- Fungus gnats: Tiny black flies walking across the glass indicate fungus gnat larvae in the soil. The larvae nibble tender root hairs and spread root rot pathogens. Allow the top inch of soil to dry out and apply water treated with Bacillus thuringiensis israelensis (BTI) to eradicate larvae without chemicals.
- Mealybugs: These insects look like small white cotton balls clustered in leaf axils and beneath foliage. Dab each individual bug directly with a cotton swab dipped in 70% isopropyl alcohol to dissolve their protective waxy layer.
- Spider mites: Mites produce faint pale stippling on leaves accompanied by fine silky webbing between stems. Wipe affected leaves with a damp cloth or a drop of mild castile soap diluted in water. If an entire plant becomes heavily webbed, remove and discard it to preserve neighboring foliage.
- Scale insects: Brown, dome-shaped shells adhere firmly to stems and suck sap. Scrape them off with an alcohol-soaked swab or dull knife edge.
Choosing compatible plants and substrate layers
Preventing terrarium failure starts with assembling proper physical layers before planting. Unlike conventional houseplants that drain into saucers, terrariums require an internal false bottom to separate standing runoff from root systems.
A standard terrarium profile includes four distinct tiers:
- Drainage foundation: A 1-2 inch base of pea gravel, pumice, or lightweight expanded clay aggregate (LECA) where drained moisture can collect safely.
- Barrier mesh: A round sheet of fiberglass window screen or synthetic barrier fabric fitted snugly over the drainage layer. This stops soil particles from settling into the reservoir below.
- Horticultural charcoal: A thin half-inch dusting of activated charcoal across the mesh. Charcoal absorbs sulfur compounds and organic odors while deterring bacterial growth.
- Substrate blend: Rather than heavy garden soil or dense clay-based aquarium plant substrates, use an airy mix that retains moisture while breathing. An Atlanta Botanical Garden (ABG) mix containing equal parts milled sphagnum, tree fern fiber, fine orchid bark, and peat moss prevents root compaction.
Plant selection must match the container design. Sealed terrariums require tropical species adapted to steady 70-90% humidity: nerve plants (Fittonia), creeping fig (Ficus pumila), earth stars (Cryptanthus), baby's tears (Soleirolia soleirolii), and miniature ferns like lemon button (Nephrolepis cordifolia).
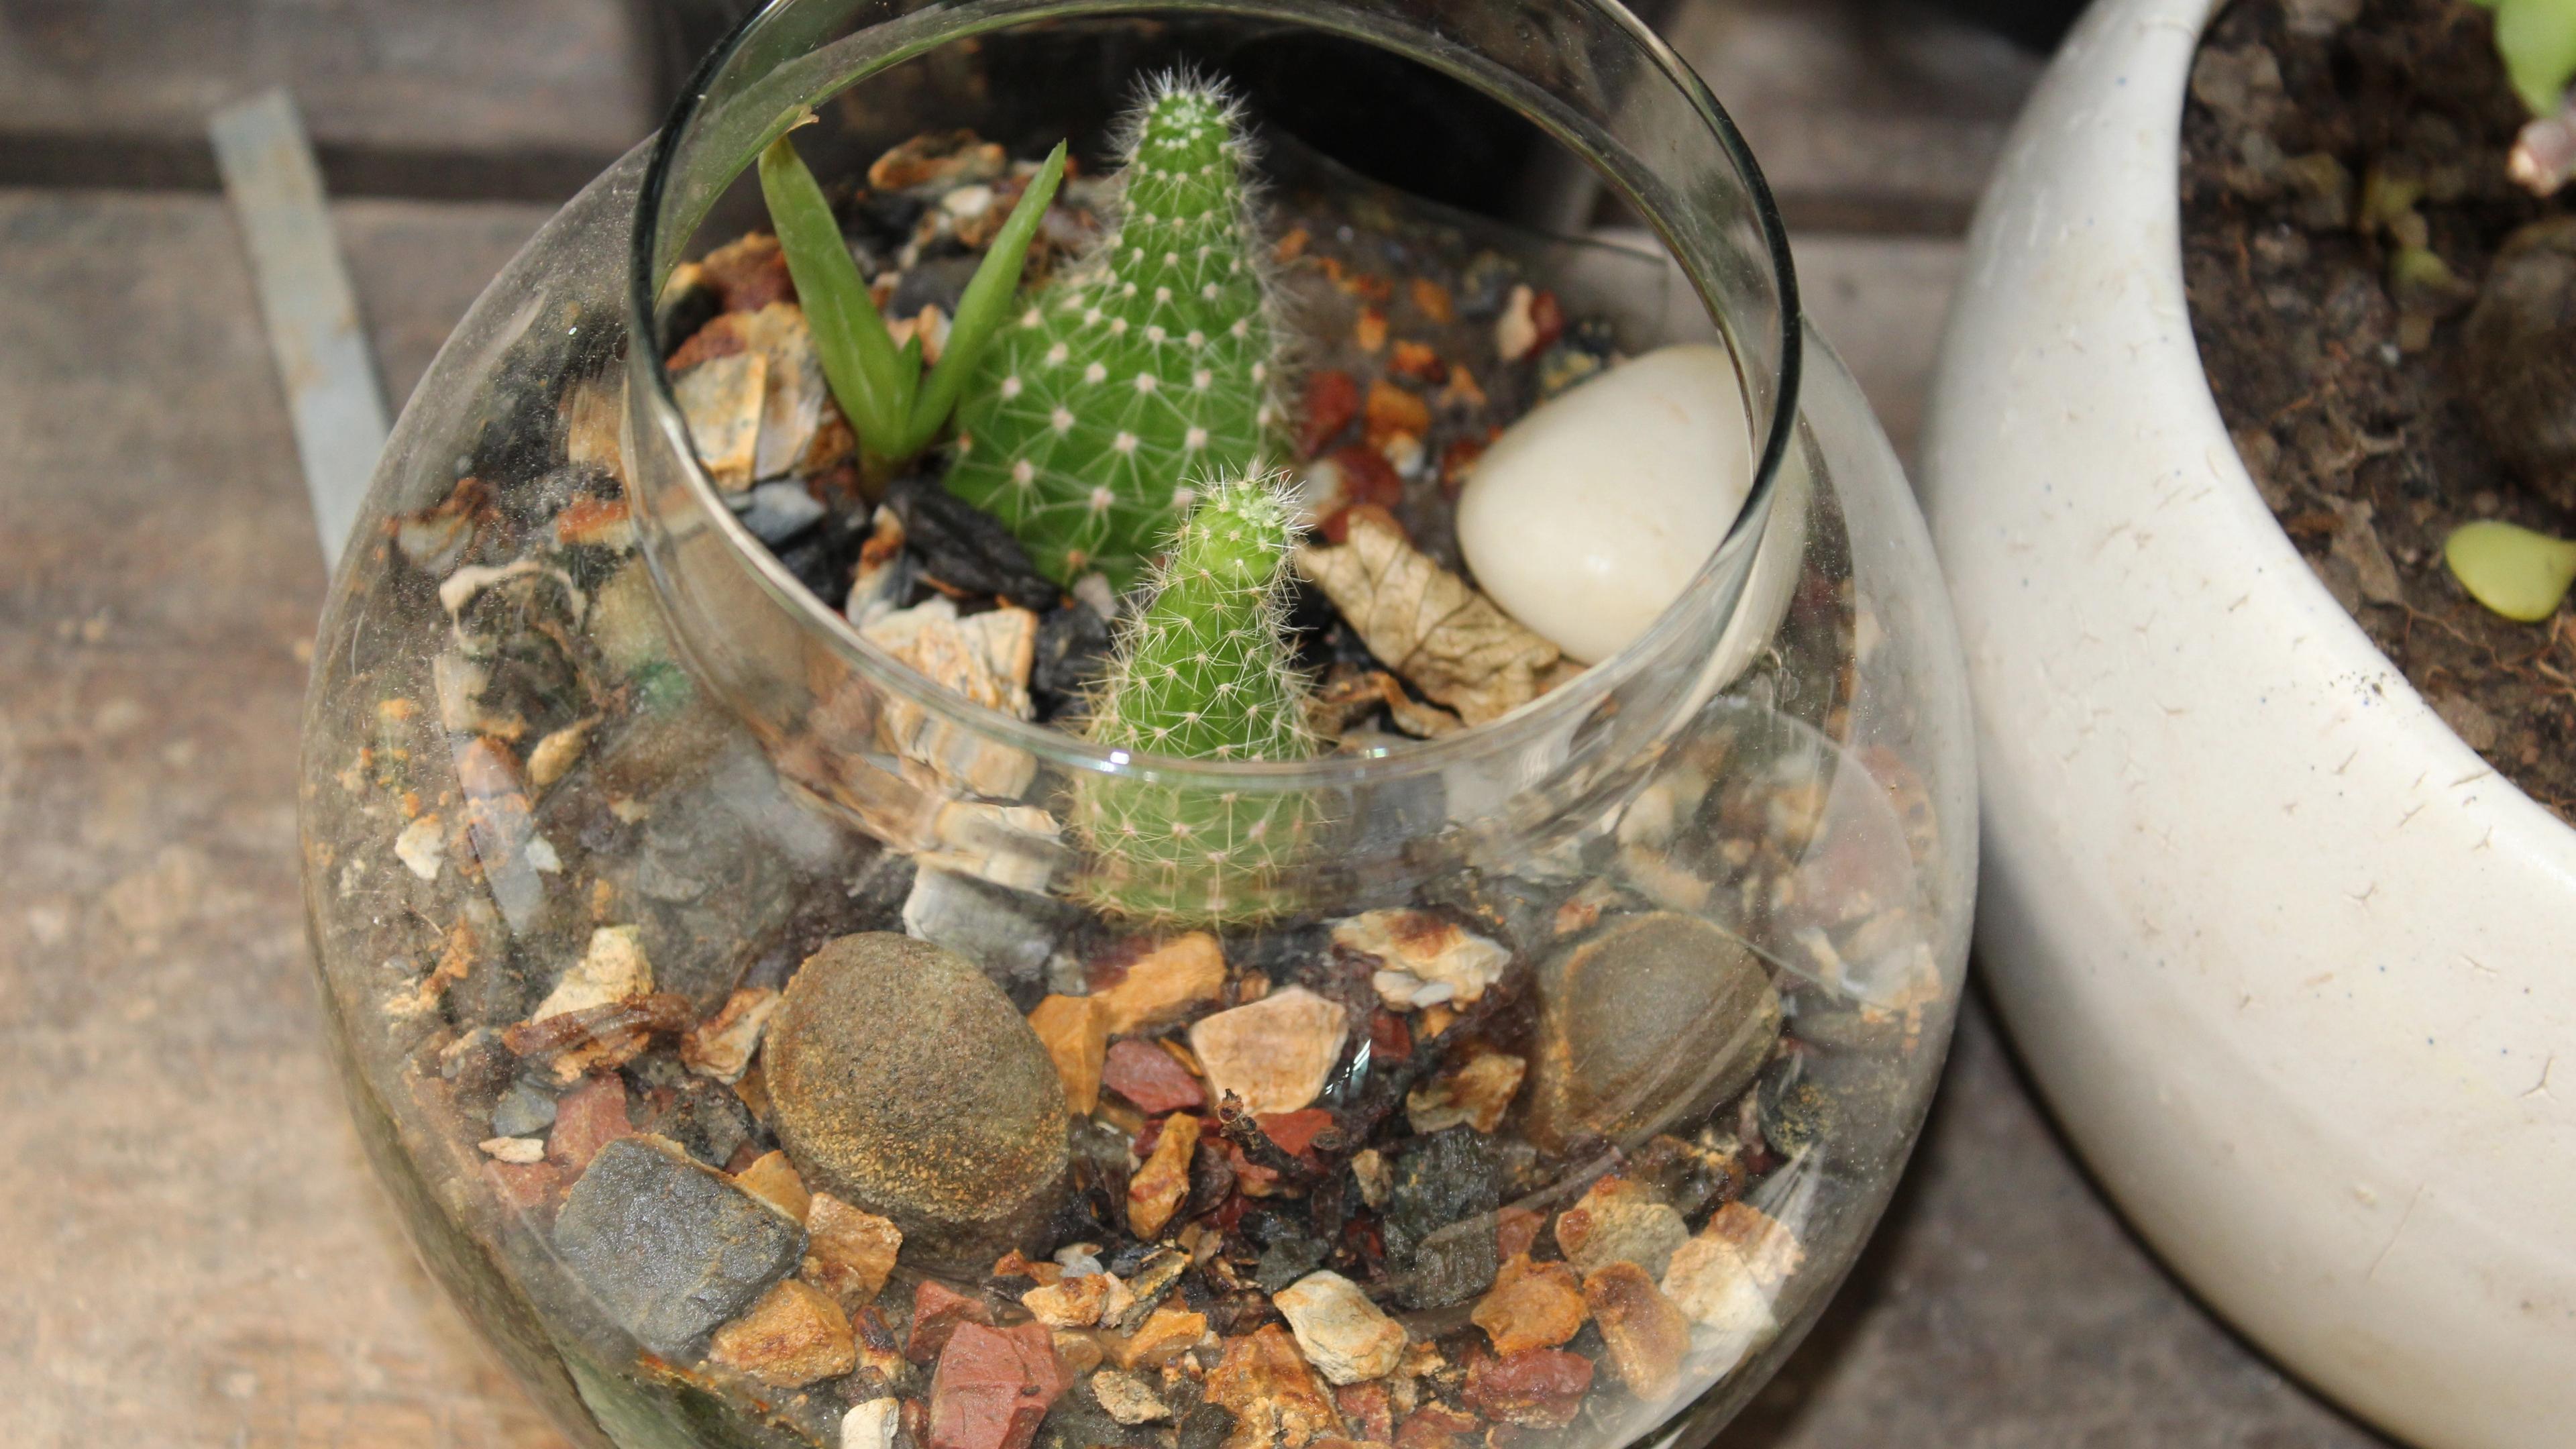
Desert succulents and cacti should never be placed in closed glass containers. In humid, unventilated air, their fleshy water-storage leaves burst and turn to black rot within weeks. Keep succulents strictly in wide-mouth open bowls using coarse sand and pumice, watered only when the substrate is bone dry.
Frequently asked questions
Can a terrarium plant recover from root rot once leaves turn yellow?
Yes, provided the stem base remains firm and has not collapsed into mush. Unearth the plant, rinse the root ball in clean water, and prune away all blackened, decayed roots using sterile shears. Replant the trimmed specimen into fresh, barely damp substrate and keep the enclosure lid cracked for several days to lower humidity while root tissue callouses.
How do you know if a closed terrarium has too much water?
A healthy closed terrarium exhibits light condensation on one side during cool morning hours that clears as ambient temperatures rise by midday. When glass walls remain coated in heavy water droplets all day, or if standing water pools above the drainage gravel, the system contains excess moisture. Remove the lid for 12 to 24 hours to let excess water evaporate into the room.
Why are succulents dying in my closed glass terrarium?
Succulents evolve in dry environments with high airflow and gritty, fast-draining soils. Sealed glass vessels sustain humidity levels above 70%, which prevents succulents from transpiring and causes their fleshy leaves to burst and rot. Succulents belong exclusively in wide-mouth open containers that receive direct sunlight and infrequent waterings.
How do springtails help stop terrarium problems?
Springtails are microscopic soil-dwelling arthropods that feed on decaying plant matter, fungal hyphae, and mold spores. Seeding a starter culture of springtails establishes a natural biological cleanup crew that suppresses mold outbreaks before pathogens attack living root systems. They thrive in damp substrate and keep enclosed terrarium environments balanced.
What should I do if white fuzzy mold appears on the terrarium soil?
White mold commonly appears on the substrate surface of new terrariums as fresh organic debris settles. Increase air exchange by removing the container lid for two to four hours each day until humidity drops. You can also spot-treat mold patches by dabbing them with a cotton swab dipped in 3% hydrogen peroxide, which oxidizes fungal spores on contact without harming roots.
Related guides
Limnophila Sessiliflora Care: Planting, Lighting, and Pruning Guide
Limnophila sessiliflora is a fast-growing, feathery background stem plant that thrives in low-tech freshwater aquariums. This guide covers ideal water parameters, light levels, propagation methods, and regular pruning techniques to prevent lower-stem leaf loss.
Staurogyne Repens Care: How to Grow and Prune a Dense Carpet
Discover how to cultivate Staurogyne repens as a thick foreground bush or creeping carpet. Master intentional pruning to force lateral runners and keep stems compact.
Aquarium CO2 Drop Checker Color Chart and 4 dKH Guide
An aquarium CO2 drop checker provides an ongoing visual readout of dissolved carbon dioxide levels using 4 dKH buffer and bromothymol blue. Learn how to interpret color shifts, position the glass reservoir, and prevent livestock toxicity.
Root Tabs vs Liquid Fertilizer Aquarium Guide: Substrate and Water Column Feeding
Aquatic plants absorb nutrients through their root systems, their leaves, or both. Understanding whether your species require substrate root tabs or water column liquid fertilizer prevents nutrient deficiencies and controls nuisance algae.
Aquarium Plant Melting in Established Tanks: Causes and Solutions
Sudden foliage collapse in an established planted aquarium points to acute environmental disruption rather than normal emersed growth transition. Learn how to pinpoint CO2 crashes, mineral imbalances, temperature spikes, and chemical burns to save damaged root crowns.
Amazon Sword Nutrient Deficiencies: Leaf Symptoms, Causes, and Root Fixes
Amazon sword nutrient deficiencies quickly reveal mineral shortages through yellowing blades, pinholes, and stunted crowns. Targeting the substrate with iron and potassium root tabs restores balanced growth.
Photo by Djlayton4 , Daniel J. Layton on Wikimedia Commons (CC BY-SA 3.0)